Choosing nice fabric is usually an adventure, but choosing it in the midst of a pandemic really was an adventure as one had to make an appointment with your favourite shop and arrive on time armed with your purse and a mask!
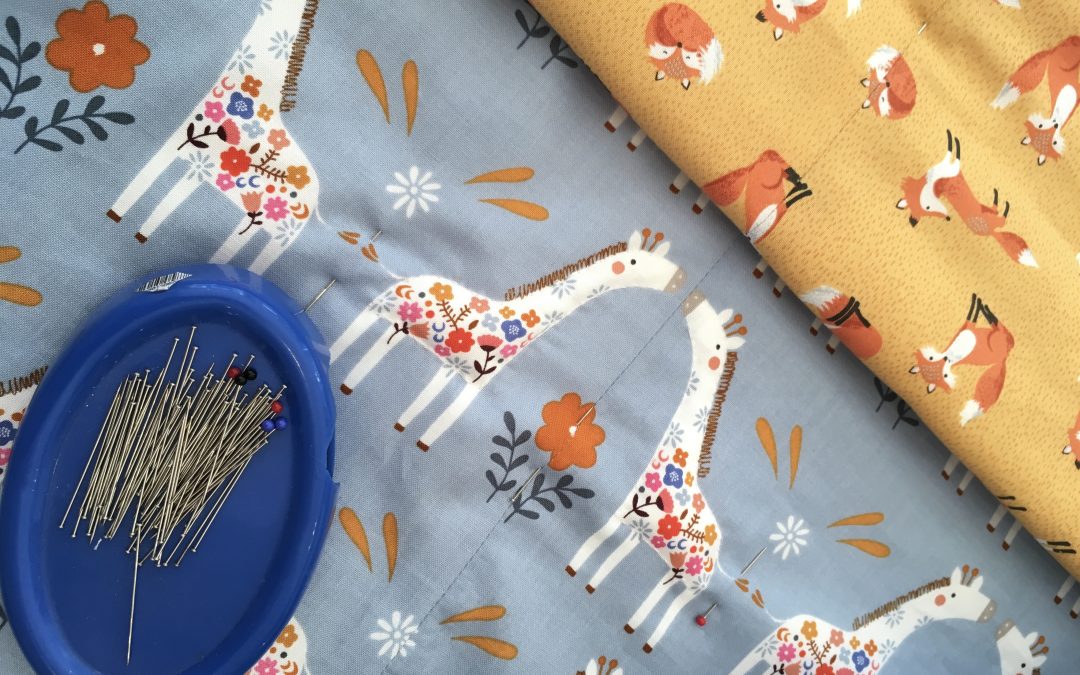
Seeing that her mum is instilling her own love for wildlife into the little one, I chose the funky giraffes on a light blue background and the cute foxes – thus combining two well-known characters from her South African heritage and her new adopted country, England. Plus, of course, a beautifully soft bamboo wadding.
As one does, I bumbled ahead without really refreshing my knowledge of the subject, but at least I can share with you a few steps towards that gorgeous end product.
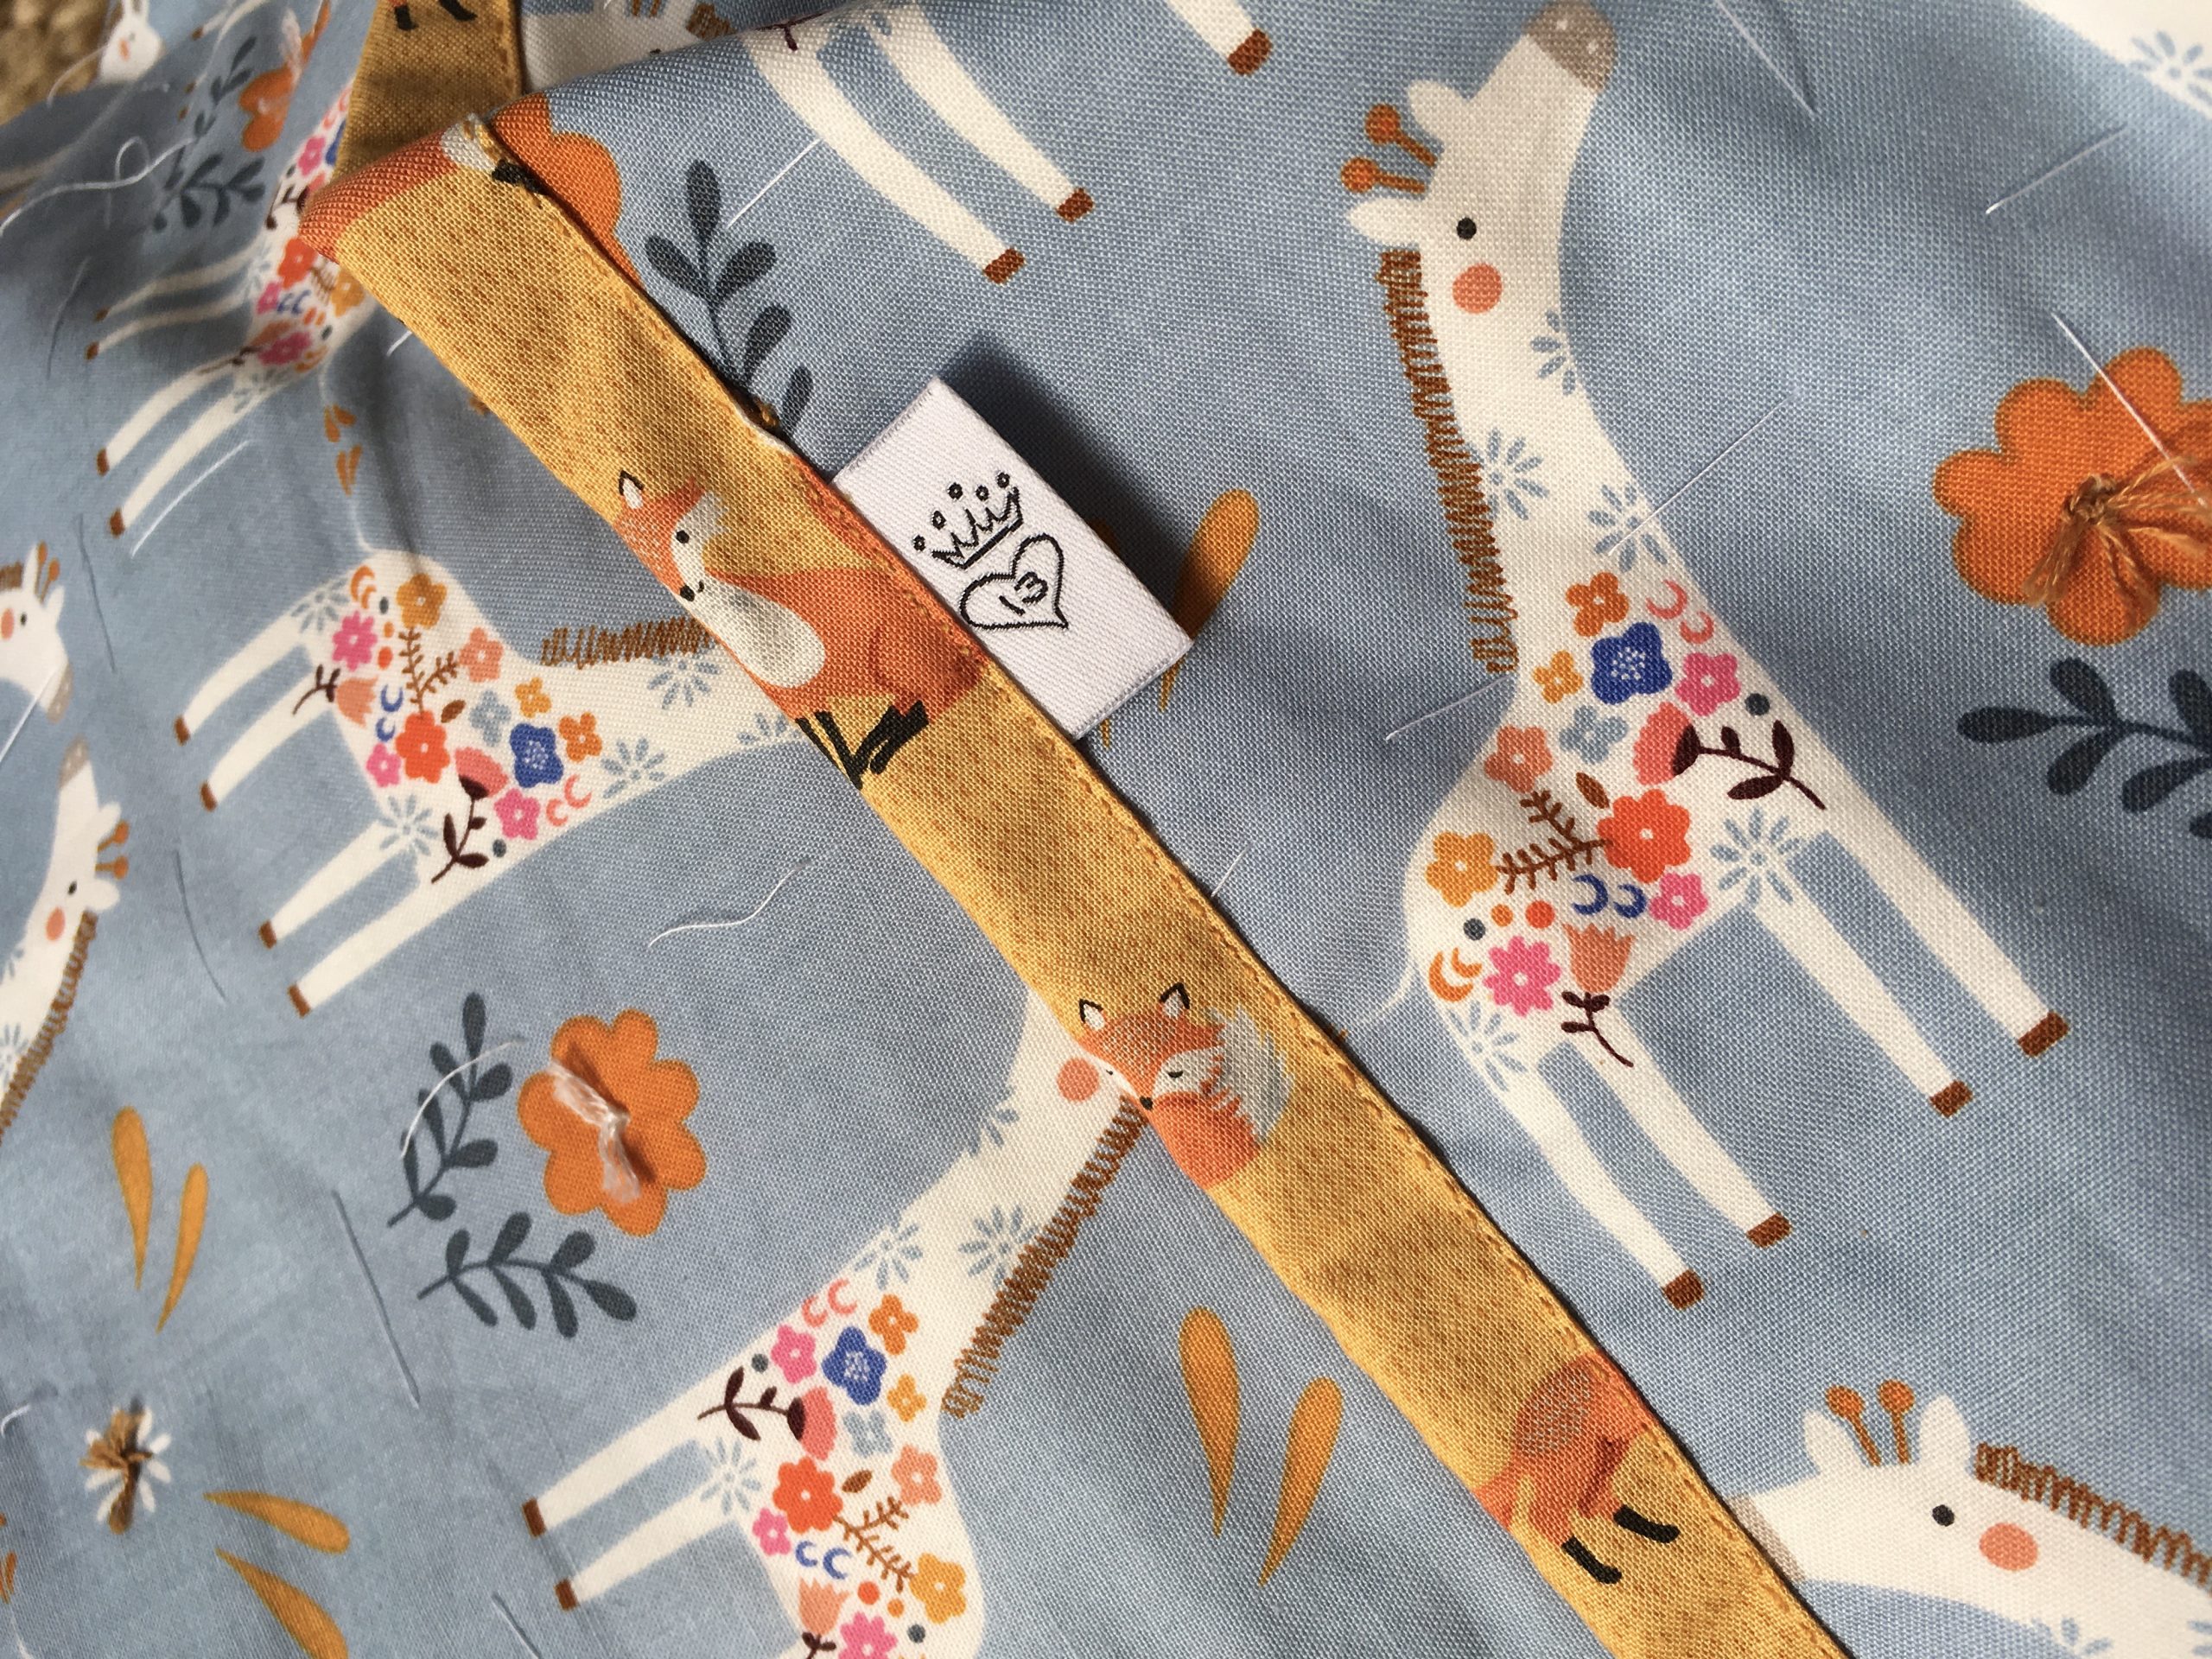
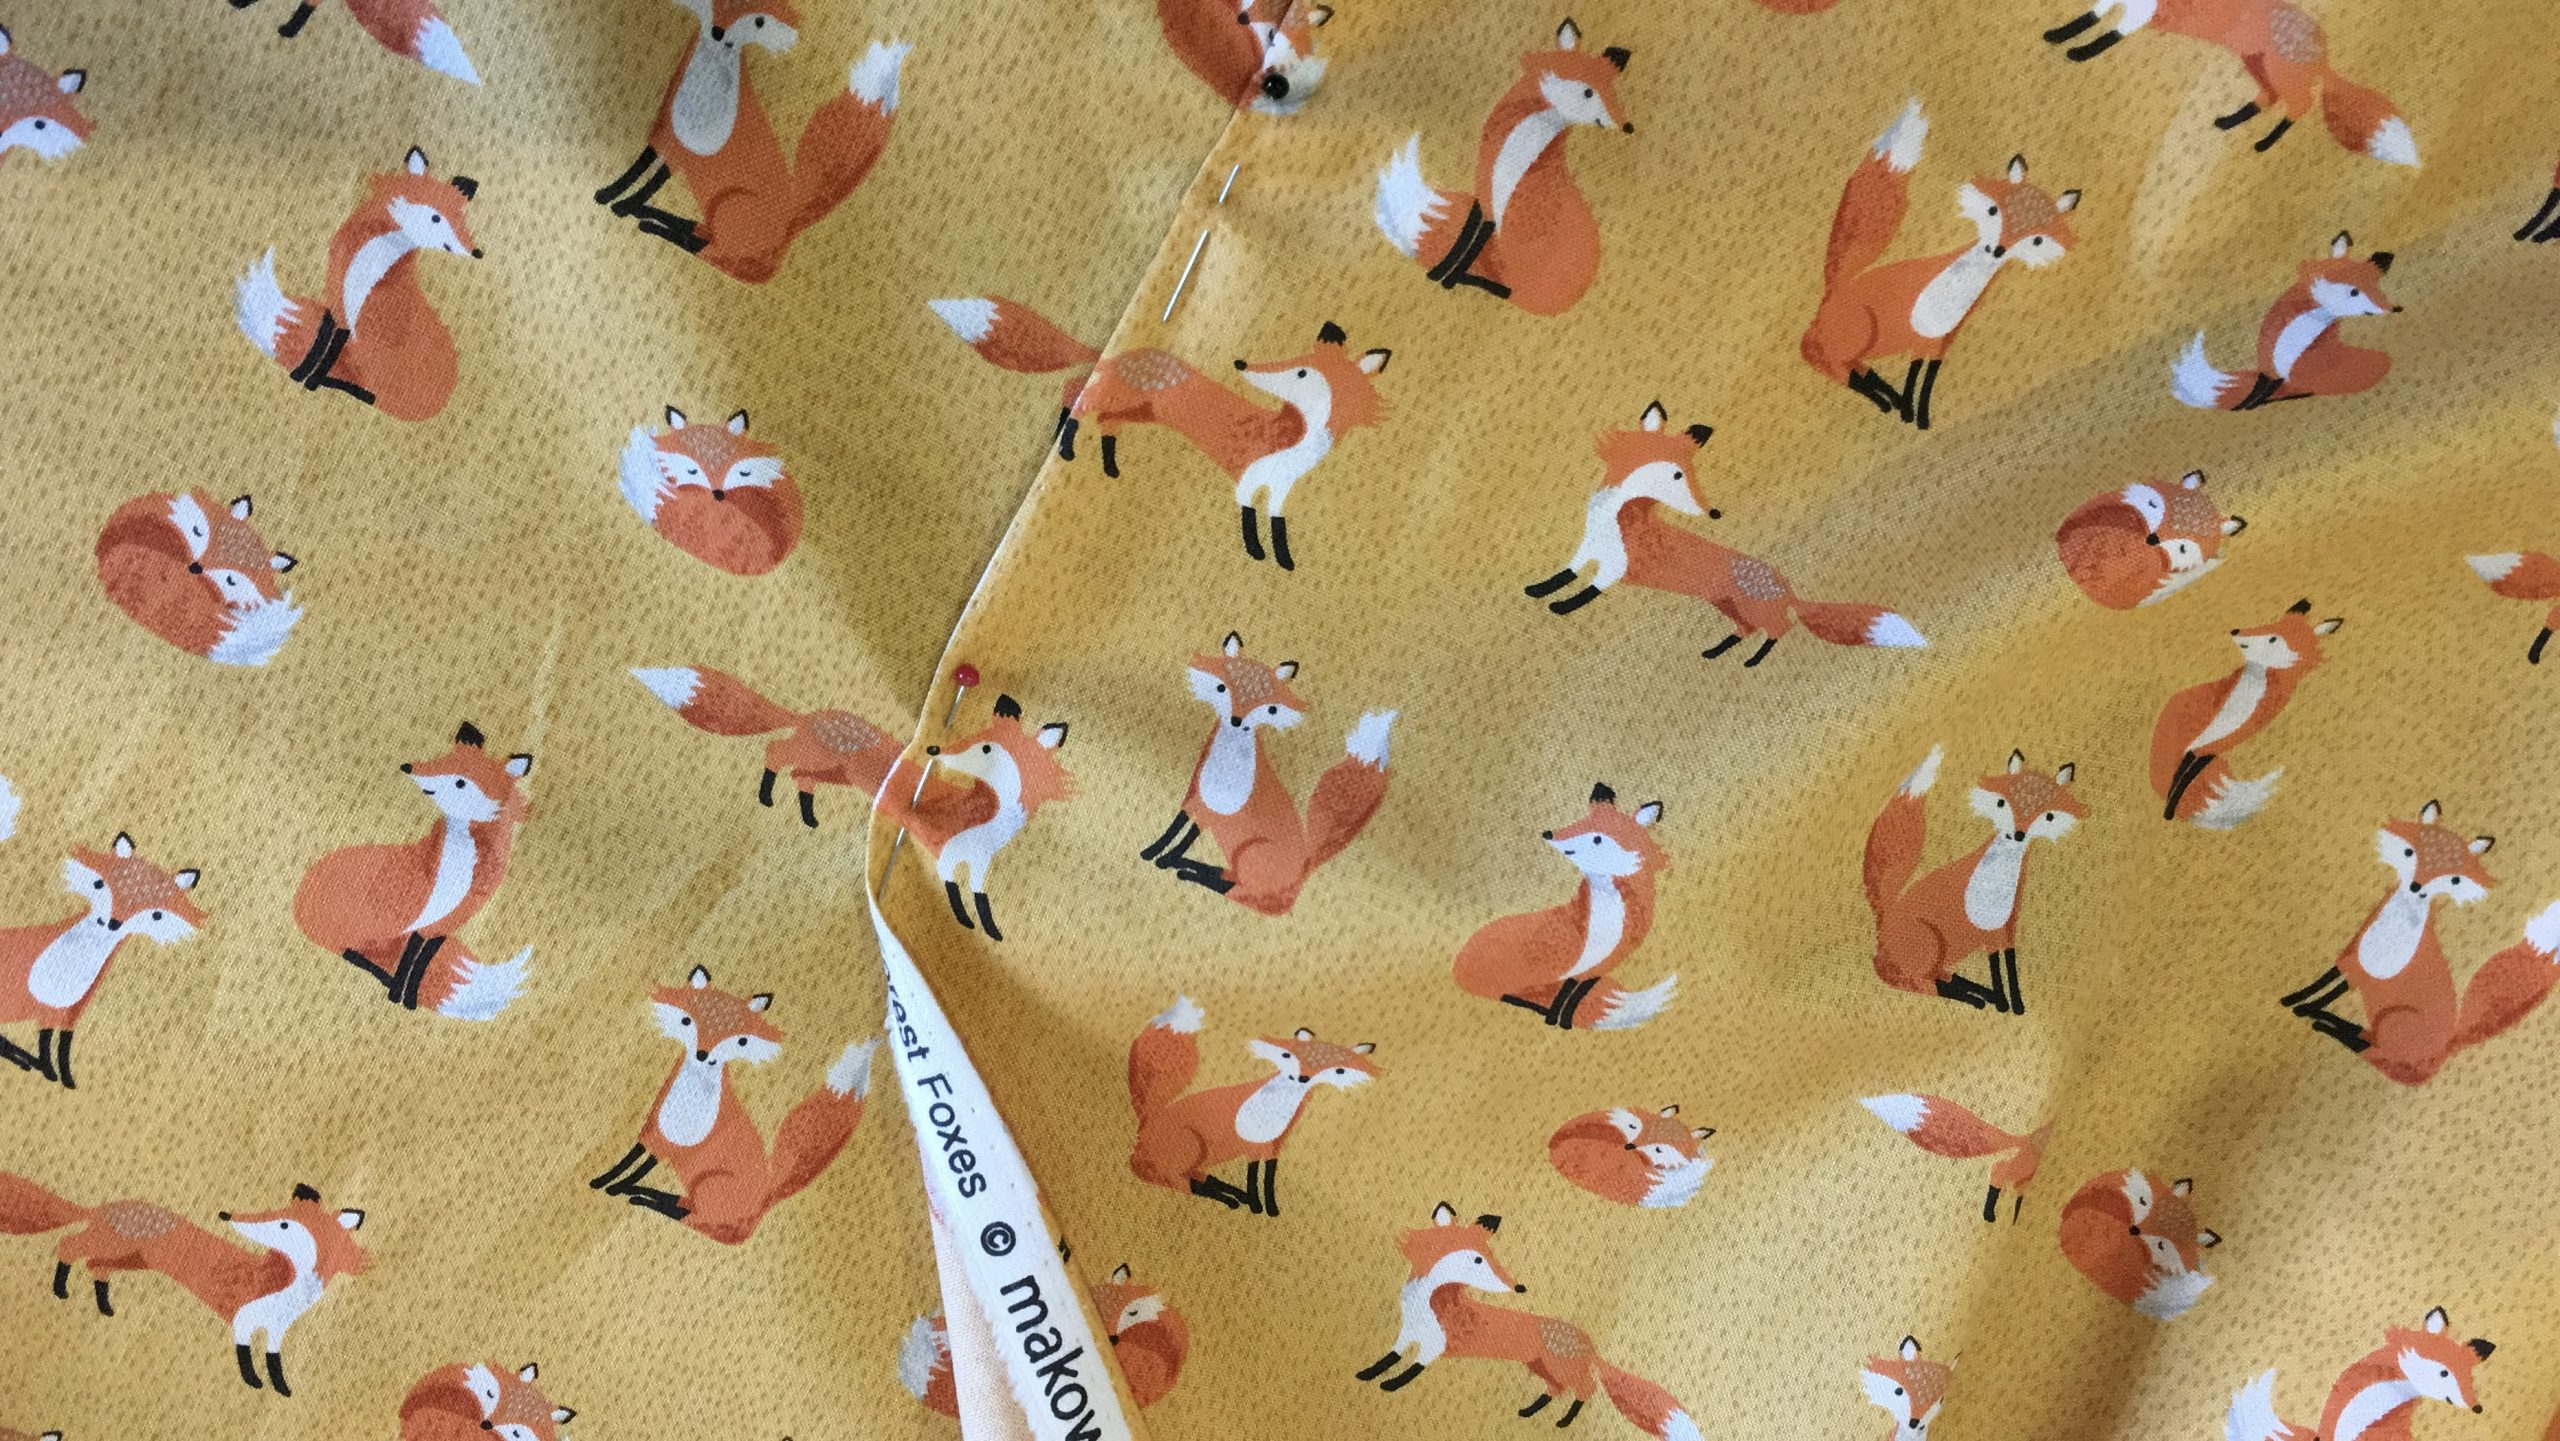
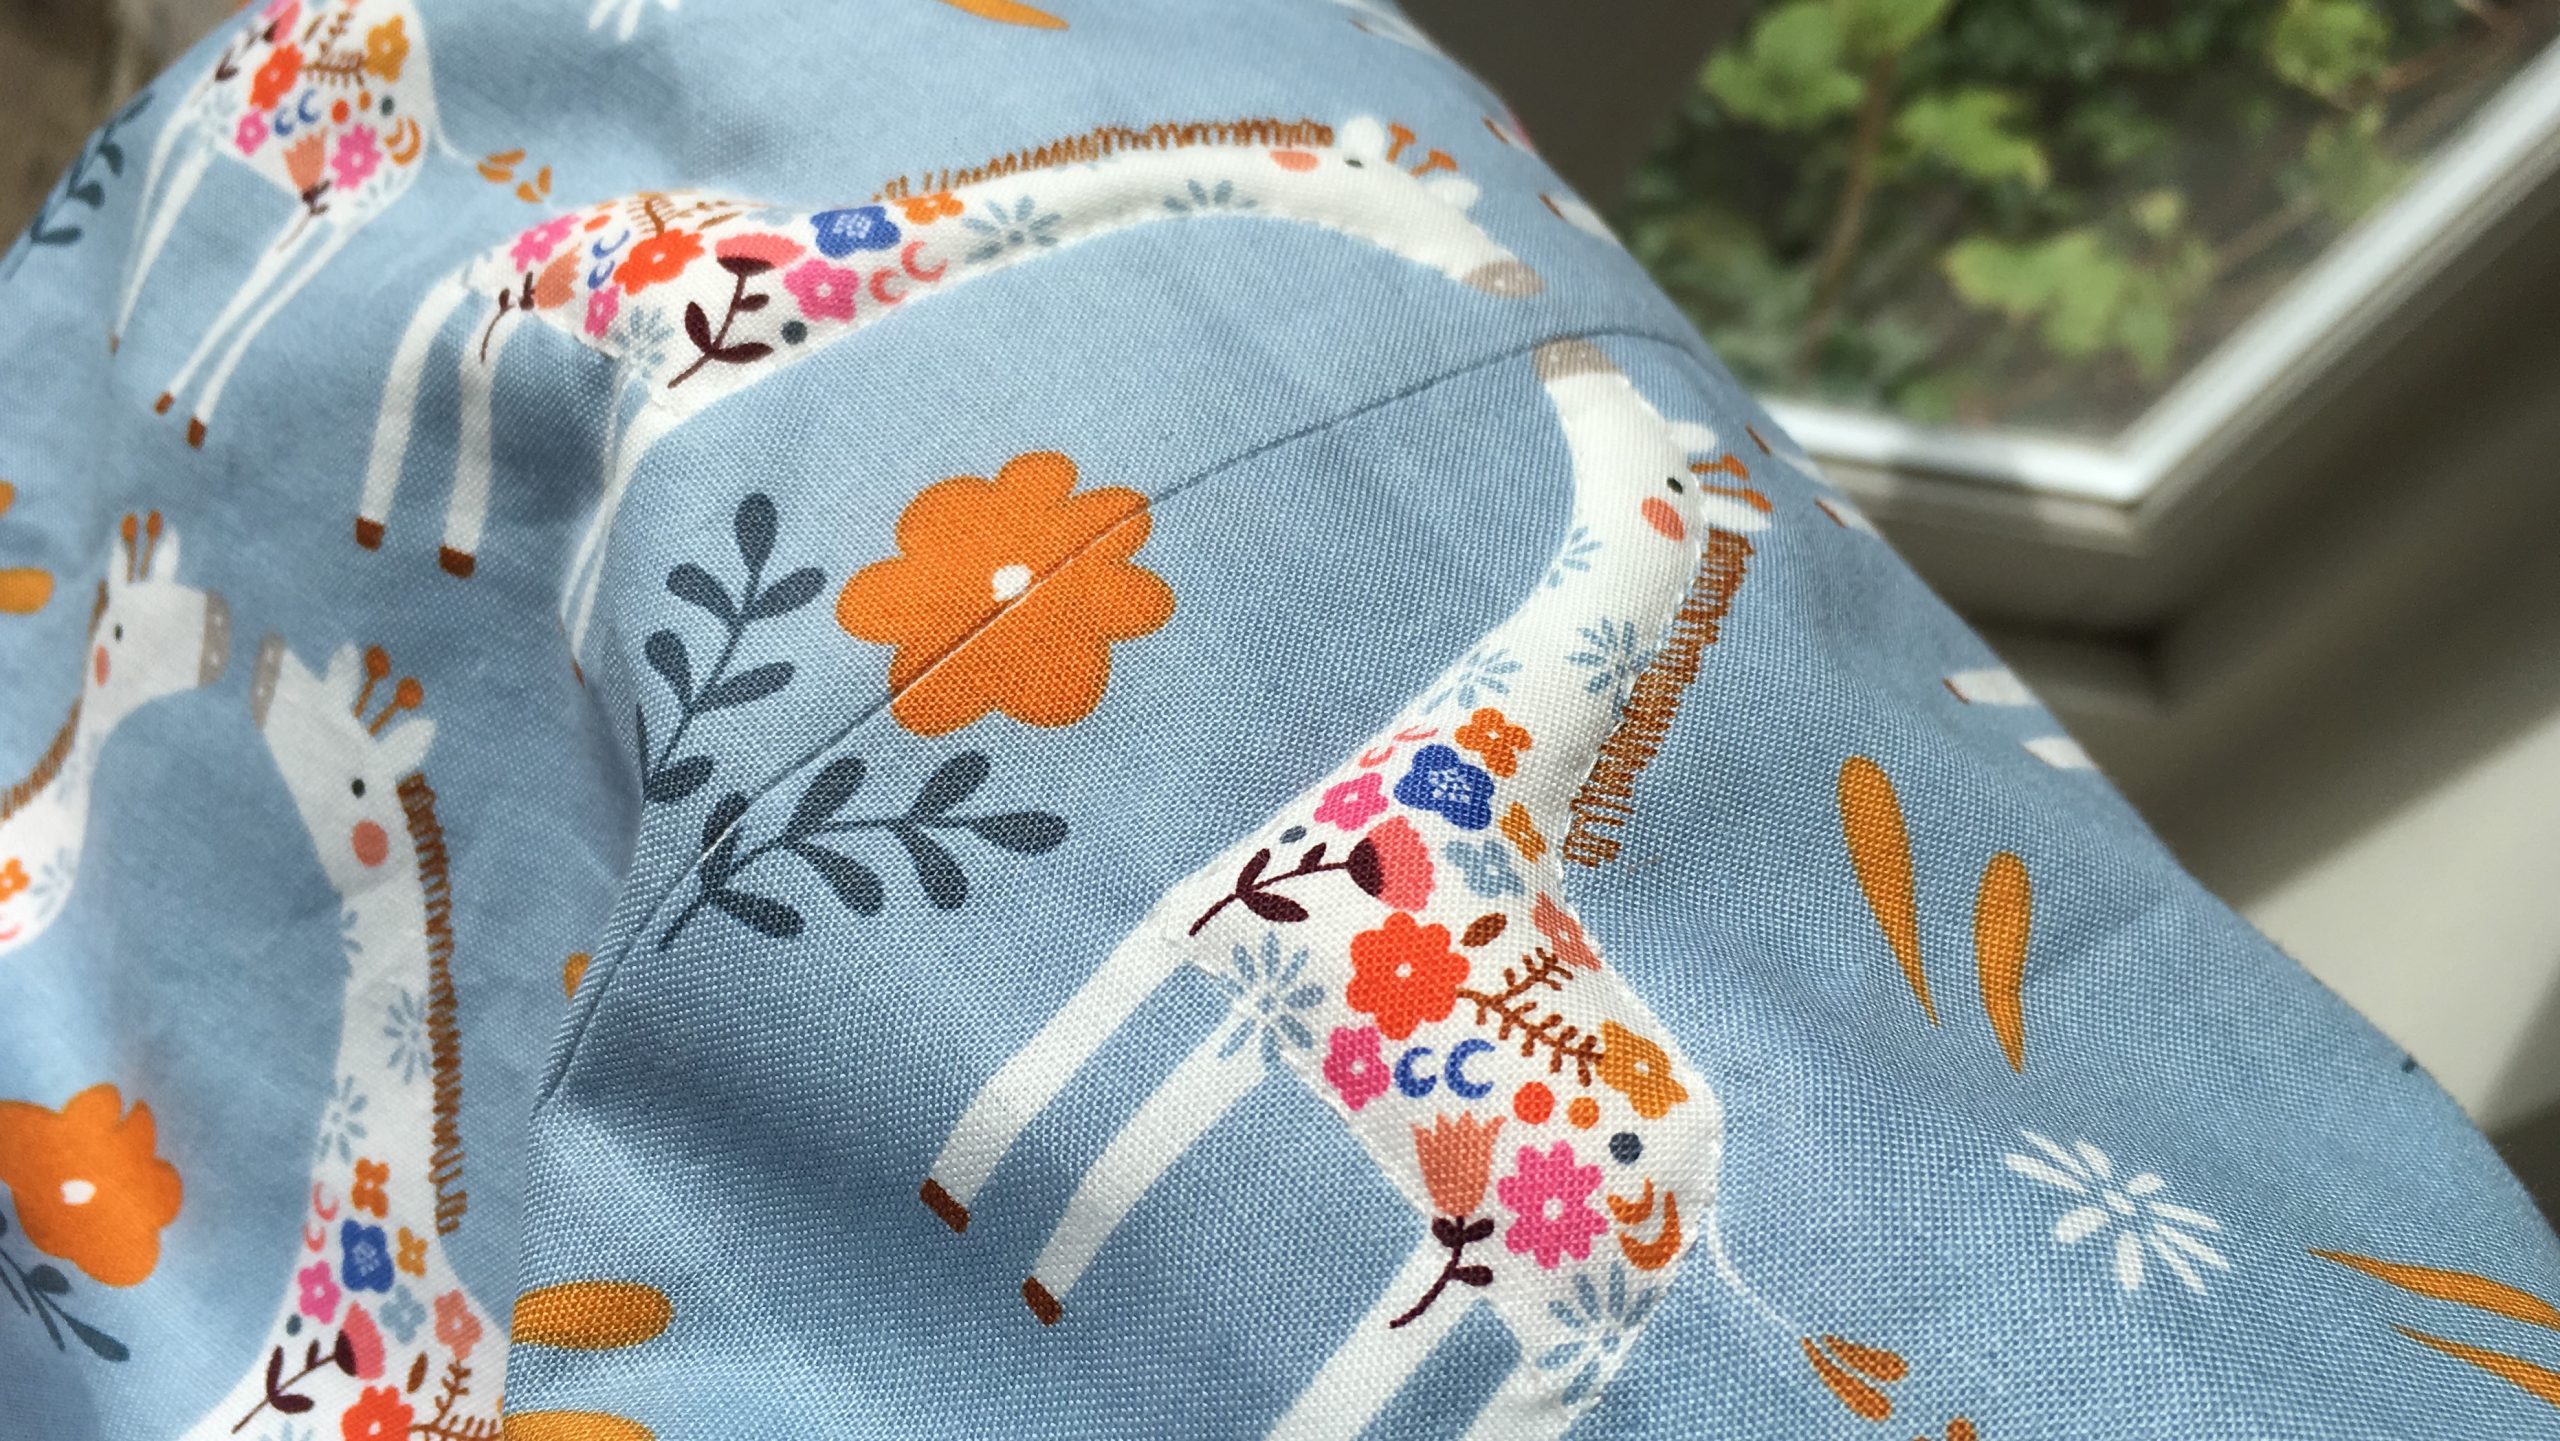
As Miss Muller had taught us 56 years ago at university, when joining two lengths of fabric, the designs had to match – in the case of the foxes much more of a challenge as you can see from the picture. The giraffes were much more straightforward. And, of course, my friend Elmarie had to tell me how her wonderful mother-in-law used to “pad” some of the designs to add some interest – resulting in me not only padding the odd giraffe, but all the facing giraffes down the centre of the quilt-in-making. Not all that visible, but they look quite cute, don’t you think?
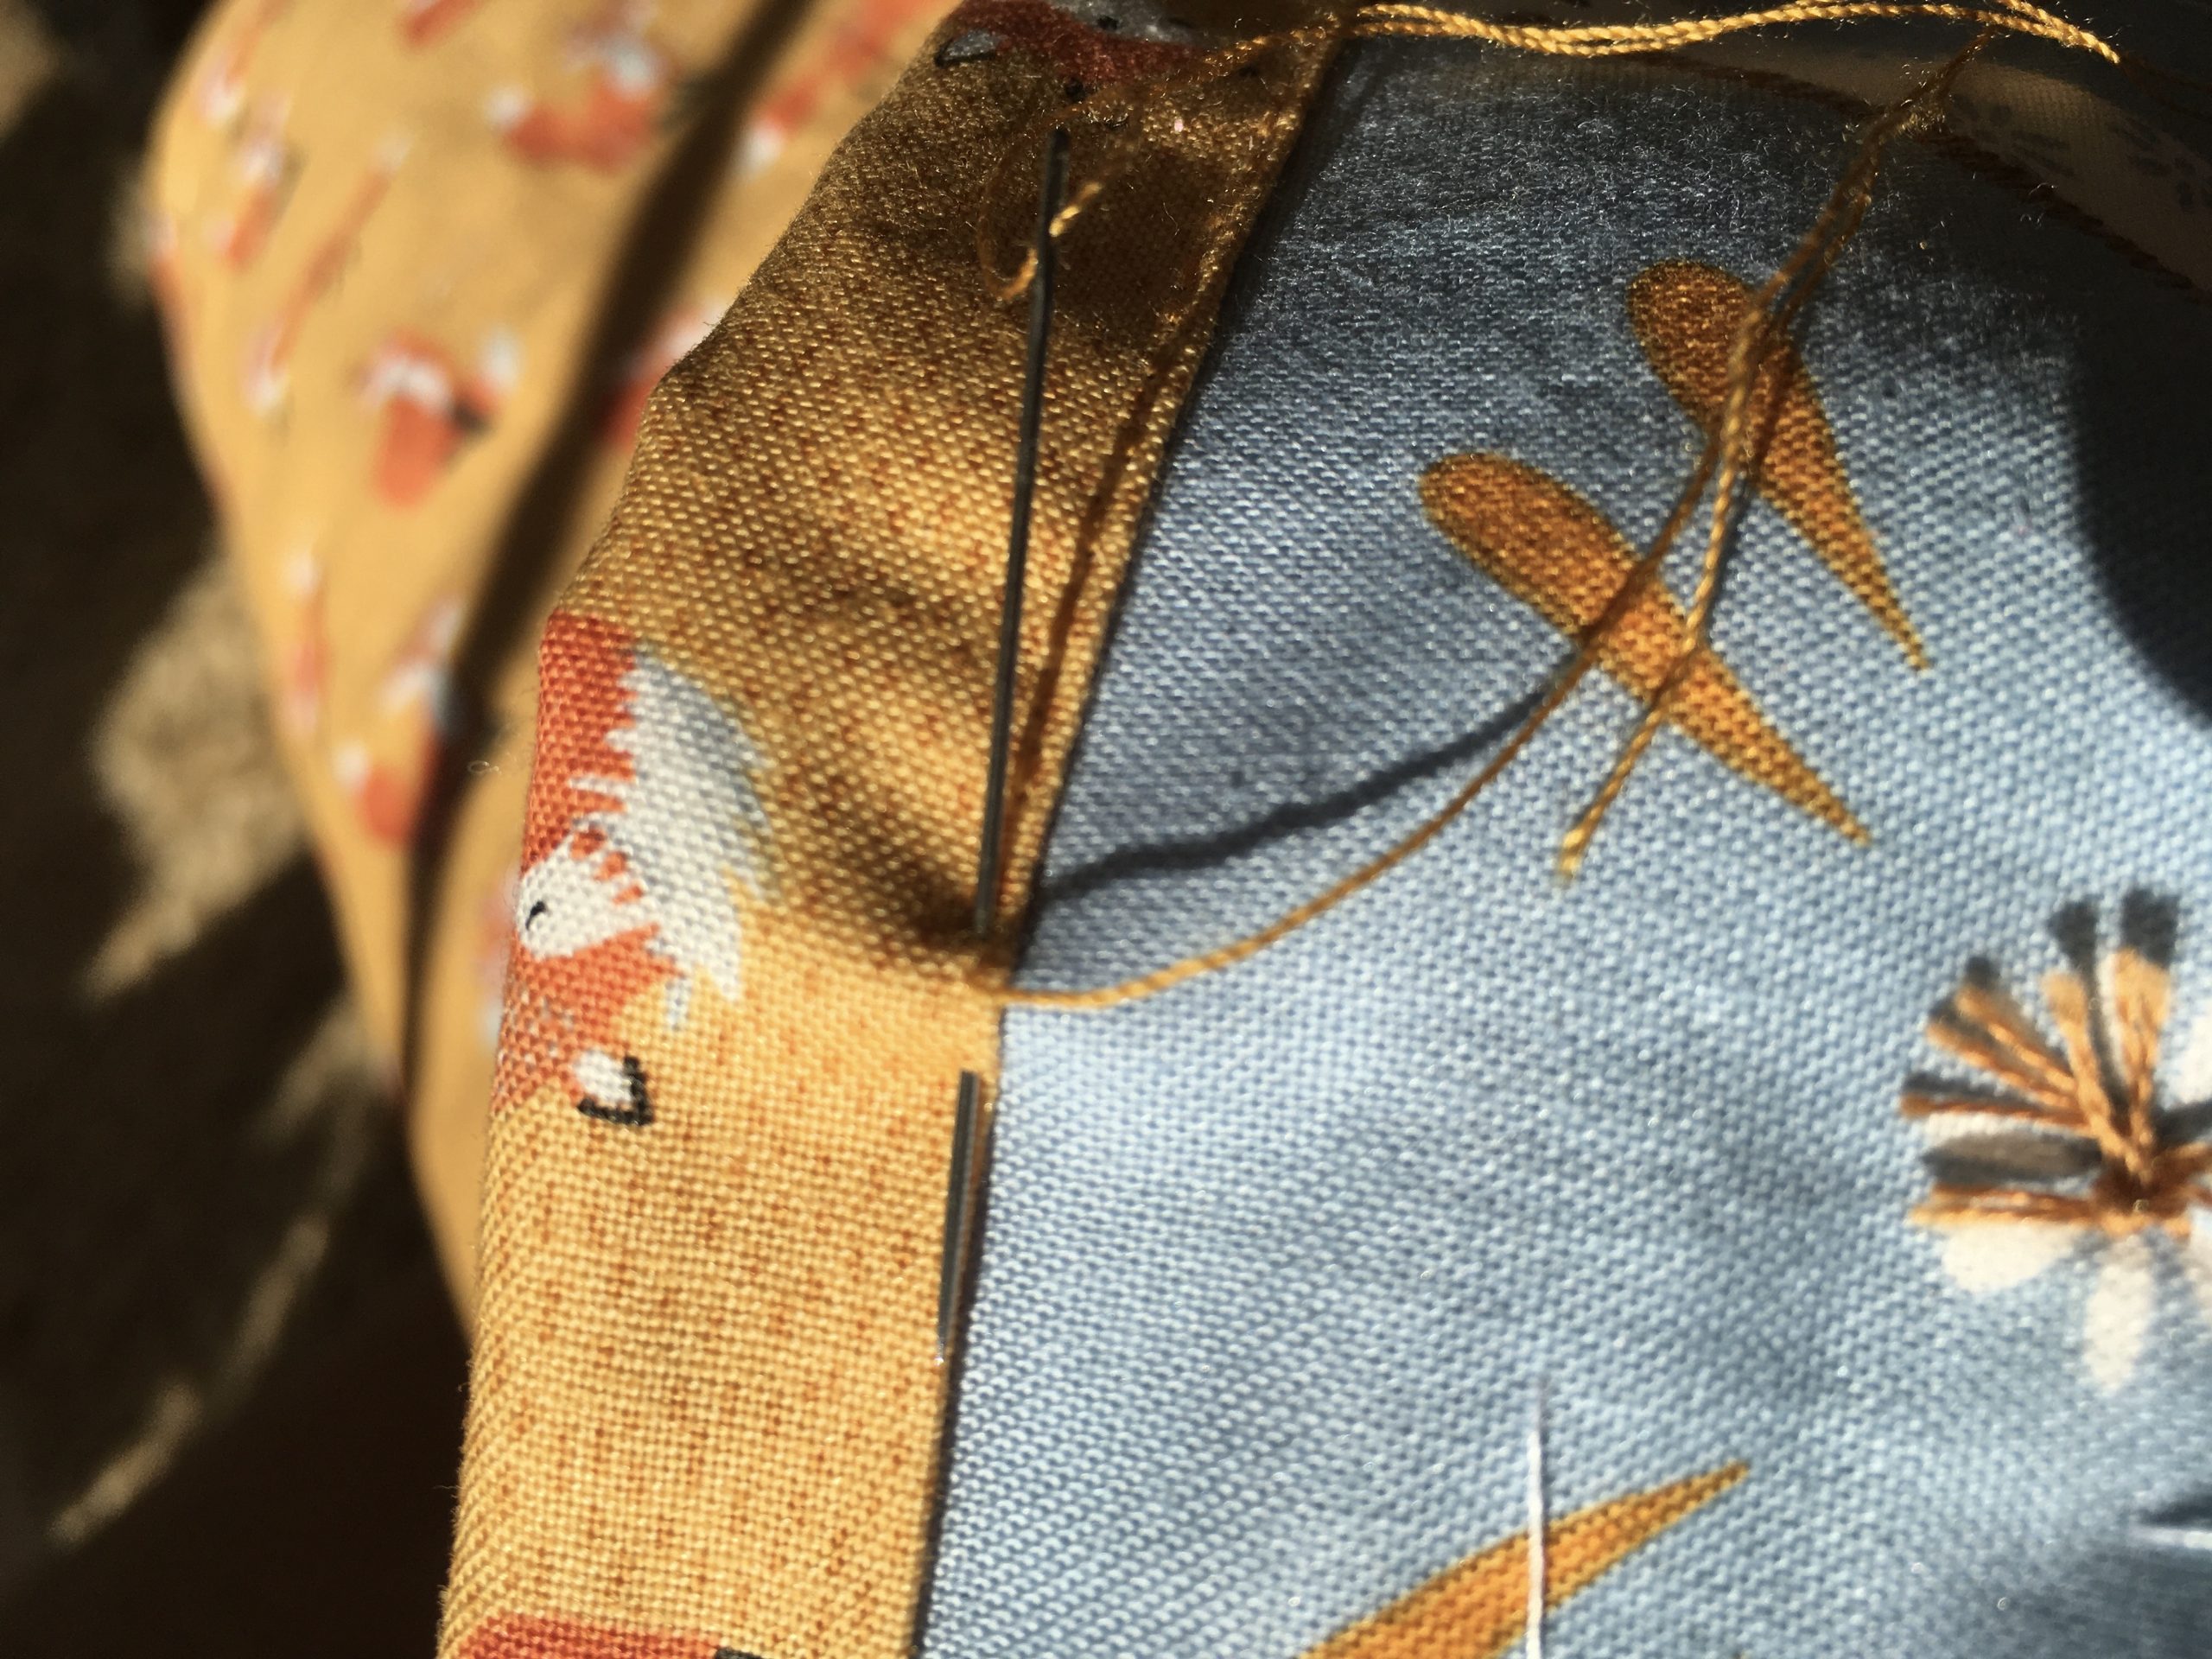
I then loosely basted the three layers (giraffes, wadding, foxes) together. Only AFTERWARDS finding that, if you have the bottom layer (in my case the foxes) a few centimetres bigger (5-10 cm all round depending on the design), you can very easily use that as a quick and easy binding to finish off the quilt. So, right at the end I had to carefully cut a 6 cm wide binding from foxes offcuts and painstakingly sew it round the edge of the quilt and then finish it off by hand with a fine backstitch. I would have benefitted looking at this first.
But, before the binding could be done, I had to tie the layers together in strategic places, using embroidery cotton with a back stitch and a square knot. I found this video very helpful – do have a look at it. I used three threads of white embroidery cotton on strategic parts of the design – starting with the centres of the flowers, which was more or less enough to secure the three layers together. Then I had to trim the edges of the quilt and attach the binding the harder way (I found this helpful for the binding I made). And, seeing that I have a few hundred of my personal labels, I finished the binding off with a label that reminds my granddaughter that she is a daughter of the King of kings, that she should and can live by the principle of love according to 1 Corinthians 13, John 13, and the power of Philippians 4:13.
The finished product was delivered a week or 2-3 after her second birthday, but now that she has her big girl bed she simply loves her quilt, especially being able to decide whether she would like the “horsies” or the “voxies” to be on top!